


Music should build confidence — not discomfort. As growing humans, many young students run into issues with pain as their bodies develop and adapt to the sometimes unnatural feelings of playing an instrument. Read on to learn how to support your student as they grow into a young person and musician!
Why Hand Health Matters
Playing an instrument can require bodies to be shaped or utilized in ways that are not intuitive. Think about the hand shape of a professional violinist: that is not a position that people will do naturally! Growing bodies are more vulnerable to tension. Younger musicians can be more prone to injury as their technique develops and their bodies mature.
Additionally, poor technique can cause habits that take years to undo. I learned an incorrect clarinet embouchure when I first started playing, and it wasn’t until my first private lesson in high school that my teacher was able to help me start correcting it. Because it had been years playing the instrument wrong, it took a significant amount of time to fix the issue. Learning improper technique can cause injury later on if it is not caught early. It’s essential to pay attention to these things, and your student’s teacher will be able to do this. Make sure to pay attention to your student as they practice to ensure they are following the guidance given by their instructor.
Warning Signs Parents Should Notice
Serious injuries are not super common in instrument playing, but just like any student involved in athletics, sometimes they can happen. Prolonged poor technique can cause things like tendonitis (something I’ve had issues with in the past), carpal tunnel, and things of that nature. If your student complains of the symptoms below, it might be time to consider icing the area, bracing it, or having a conversation with your student’s teacher regarding suggestions for how to help. Don’t encourage your student to push through pain as it could potentially lead to long-term damage in extreme cases. Please ensure also to speak to a doctor as I’m certainly no expert!
Complaints of tingling or numbness. This could signal nerve pressure that can be helped with Tylenol, icing, or bracing. It might also be time to consult a doctor and take small breaks from playing the instrument.
Feeling “tired” after only a few minutes of practice. This could be a burnout issue, or a muscle problem.
Stiff wrists, raised shoulders, or visible strain. These symptoms can result from improper technique and should be addressed with the student’s teacher.

Instrument-Specific Tips
Every instrument is different, and so is every body. It’s essential to follow the guidance of your student’s teacher or director to understand a particular instrument’s technique. The suggestions below are just beginning guidelines.
Piano: relaxed wrists, bench height, proper finger curvature. Tension is not good, and many beginners tend to use “claw hands.” Wrists do not need to be ramrod straight, and hunching on the bench is often another problem. An adjustable bench can help with posture, and relaxed body position.
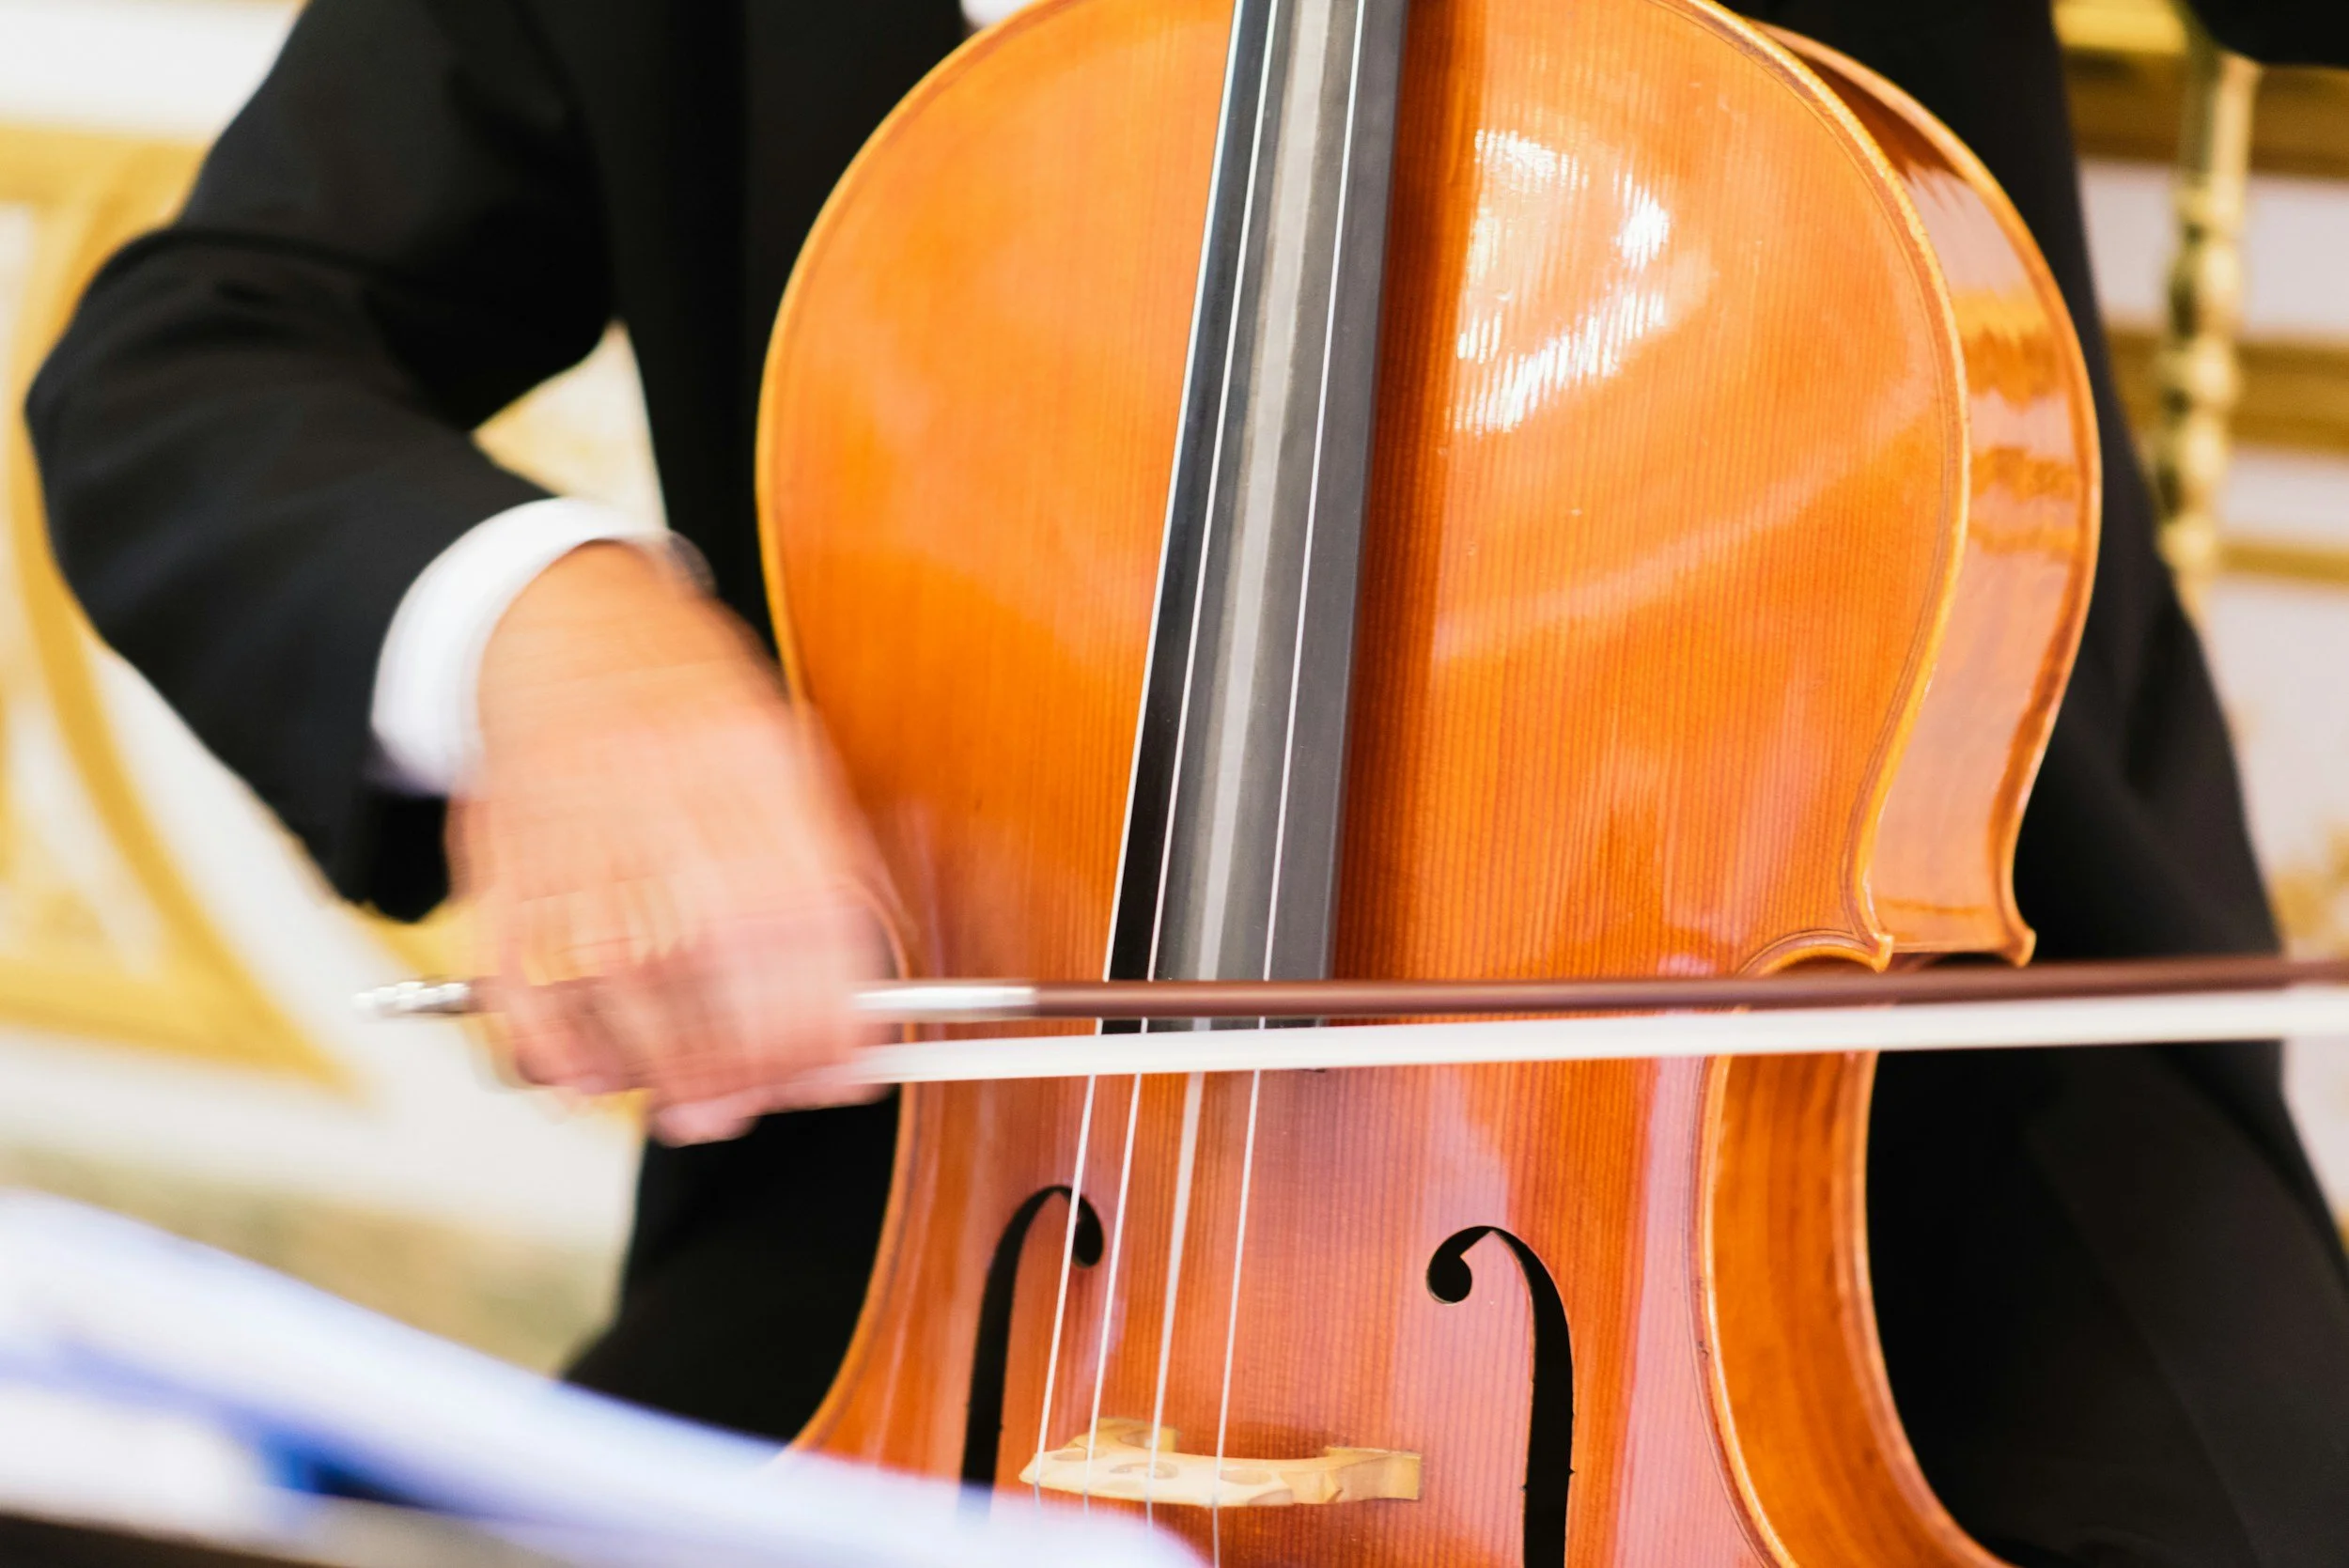
Strings: avoiding “death grip” on the bow, balanced left-hand shape. As before, tension is best avoided. Hands should be relaxed into the proper shape, not strained.
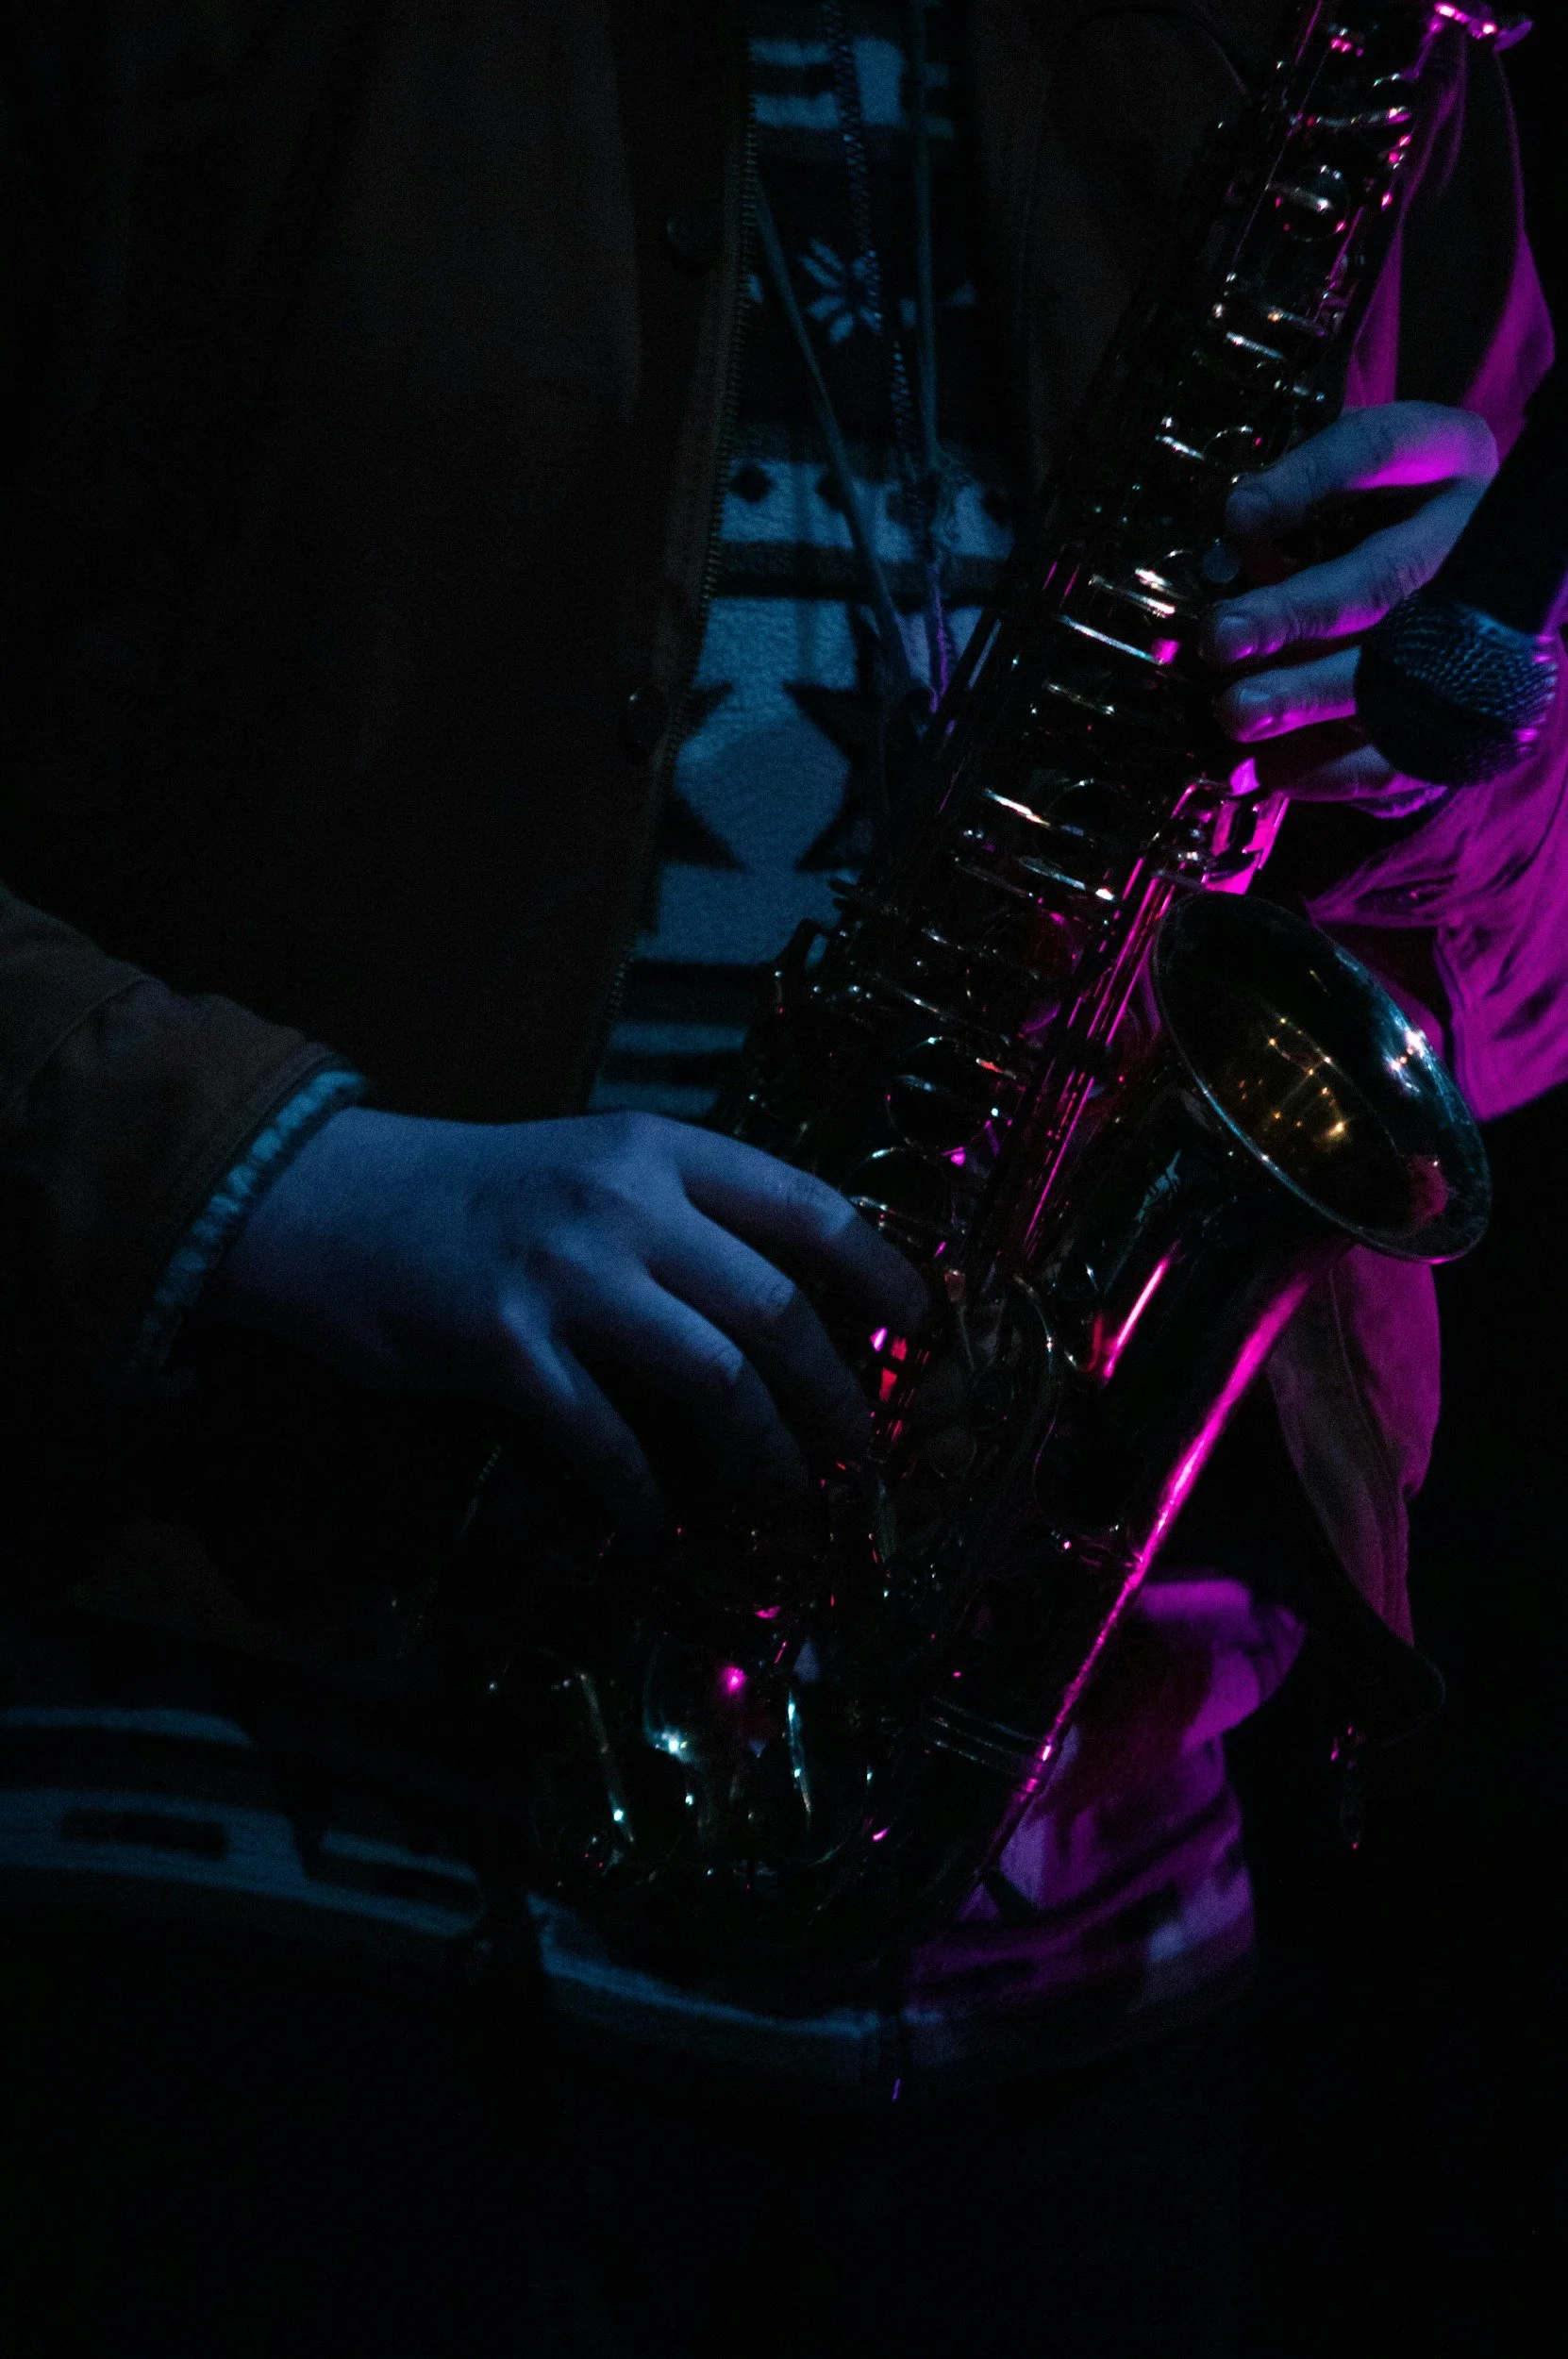
Brass/Woodwind: weight support, neck/shoulder alignment. Beginning woodwind and brass teachers will often show students where to place the weight of their instrument. Because of the breath column, neck stiffness can be a problem. Make sure your student is not crunching up their shoulders, or slouching. Also, hands should be relaxed into the correct shape again, even if the hand shape is awkward.
Percussion: stick grip, rebound technique, balanced posture. Sticks don’t need to be held in a vise, and standing instruments (like the snare drum) should be set to the correct height to ensure proper posture.
At-Home Prevention Strategies
Below are a few simple ideas to help keep your student’s body healthy as they learn to play an instrument. Your student’s teacher may also have some great suggestions!
5-minute warm-up routine. Playing an instrument uses muscles, and those muscles can definitely benefit from warming them up. Utilizes scales, arpeggios, or exercises to get the fingers moving!
Gentle stretching. If your student is sitting down for a long practice session, it can be really helpful to softly stretch out the neck, back, hands, and arms before beginning. Stretches should be slow and careful—consult with your student’s teacher to get ideas!
The “20-minute reset”: pause, shake out, reset posture. Practice sessions oftentimes necessitate maintaining a specific posture for a significant amount of time. If soreness or stiffness starts to become a problem, follow the steps above. Stand up, shake the body out, and double check that the posture has remained correct and not devolved into a slouch.
Make sure the instrument setup isn’t too big or small. See my last blog post regarding the proper set up for a beginning pianist. The setup will depend on your student’s body type, size, and instrument so this is best done in consultation with your student’s teacher. Once the guidelines have been set, pay careful attention to your student and correct any setups that are not correct.
With simple habits, beginning musicians can learn healthy techniques that keep their hands and bodies strong and pain-free. Always follow the direction of your student’s teacher! Thanks for reading!
~ Charissa Garrigus, Instructor at Vibe Music Academy